Thursday, November 18, 2010

Work in Progress

I've been outside of the sewing loop lately. Other aspects of my life have commanded my attention.
For the skirt I recently made (post of 17 Sept 2010), I sewed a casual bamboo knit top to go with it for casual/business casual events (post of 19 Sept 2010), but I wanted something more dressy also. A beautiful coral silk habutai that I bought from Thai Silks (http://thaisilks.com) at Expo this past March (post of 9 March 2010) is just the thing. It's not finished yet, but there is some progress:


It is all cut out of Vogue 8322, and interfacing - a medium-weight knit - is fused.


Buttons have been purchased that are so attractive as to serve for jewelry. [What was the thinking, here? I love getting new jewelry! Maybe it was that the coral-coloured stones on the buttons are fake. I should never wear real coral, as its production necessitates the destruction of a delicate biome, and I never wear fake jewelry, as -- why should I? -- my husband buys me the real stuff.]


Both machines are cleaned, oiled, have new needles and are threaded. Wait a minute -- both machines???? Since I am sewing a fine, drapey silk, oughtn't I construct with French seams instead of the serger???


Review post of 27 Sept 2009 for the answer.

Saturday, October 30, 2010

A Binding Proposition


I (with help from Pfaffie) am done quilting Emma Rose's blankie, so it is now time to bind the edges.
First, it is essential that you have the right equipment. Here is one of the most important pieces of equipment in my arsenal -- a kitty. Fergus likes to hang out nearby when I am working around the house. Here, he is napping atop my Embroidery machine. [Dust covers are another essential piece of equipment.] How does my kitty help the sewing/quilting process? He makes me smile. Smiling makes any endeavor seem to go faster.


Quilting done, the next step is to determine exactly the amount of overage needed to fold over the top, tuck under and bind.


There are 2 methods for doing this that I use: the first is to lay the quilt on a flat surface and fold and pin, re-fold and re-pin, basically play with it until you are happy and repeat all around. I call this the SWAG method. (Scientific Wild-Ass Guess). The second is the one I actually used on this quilt. Whilst folding and pinning, I discovered that there was a 4-ft stretch along one edge that only had 2 inches of overage. Ergo, the overage could only be 2 inches. I (along with roughly 40 Million French sewers and quilters) call this fait accompli.
Mark your overage all around, then trim to markings. As you see, I mark with pins. Marking with a water-soluble or erasable marking pen is an excellent idea -- I just can never seem to remember to buy one of those things!


Now, fold and press. The corners are tricky, but don't worry about them - we're getting to that - press each side independent of the next, not worrying about the corner. Pin sporadically to hold in place.


Corners can be managed 2 ways -- mitered, or lapped. In my opinion, there is no aesthetic advantage to lapping, and it is generally done only by quilters who don't know how to miter a corner. I'm not going to let that happen to you, Dear reader! Here's how to miter:
On your ironing board, post-pressing edges, lay your item face down. Fold back the 2 sides comprising the corner to be mitered. Pin the edges together, placing the pin flat against the backing/wrong side of garment. This is your stitching line.


At your machine, stitch from outer point to folded edge. You may back-stitch, to lock the stitches, but you will get a sharper point if you start with a tiny stitch (pulling thread tails taut behind the pressure foot), and increase gradually. This is easily done on your computerized machine, it can be done on most mechanical machines, if you stitch slowly.
Trim the excess fabric to 1/4 in. and turn.


Here is the finished corner, and quilt.
Done!!!!!
Viola! Neat and pretty, non?

Monday, October 4, 2010

Fuzzy, Hoppy quilt (top only, so far)


When Varina and I visited Sewing & Stitchery Expo, one of the many quilt patterns I purchased was the "Hip Hop Quilt" from N.E.I Enterprises (www.EasyPatternStore.com OR: muddledmadness@verizon.net). When my son, Daniel (http://goodevilgenius.tumblr.com/ OR: http://joestryker.com ) called to tell me that his anticipated child was going to be a daughter, I knew I wanted to make this for her in pinks and pastels. Particularly, I wanted the bunnies and carrots to be fuzzy and soft, so they are made of Minkie, and the bunny tails are made of fake fur. ( No actual rabbits were harmed in the making of this quilt.)
This quilt top went together beautifully. It probably would have gone even easier, if I had paid closer attention to instructions, and not made a couple of mistakes. For instance: I somehow cut out 2 bunnies facing left and one facing right - opposite the directions. I didn't think that would matter in the least, but it affected the direction of the carrots, and the number of 12 in. strips vs. 18 in. strips in the closest border. This cause some measure of angst, as, except for the bunnies, carrots and their backing blocks (which was made of fabric purchased for this quilt) , all of the strips and squares were made of fabrics scraps from other projects. The peach sprigged gingham was first used in a quilt I made for my first grandson, -- 2 years before he was conceived. No running to the store for more of this fabric!! Fortunately, I had enough to cut more of the needed strips.
The "Baby Girl" fabric (2nd border) is scraps from a quilt I made for Myra. (I made blankies for my other grandson, Brody, but they were all blue, and didn't work for this quilt. Brody will soon be joined by a new boy-cousin, and will contribute scraps for a quilt for him -- someday.)
So, this quilt is a little bit from Logan, and a little bit from Myra, and a lot bit from Oma Sarah. I hope that someday Emma Rose will love it, as much as I love her.

Monday, September 27, 2010

Kitty Love!


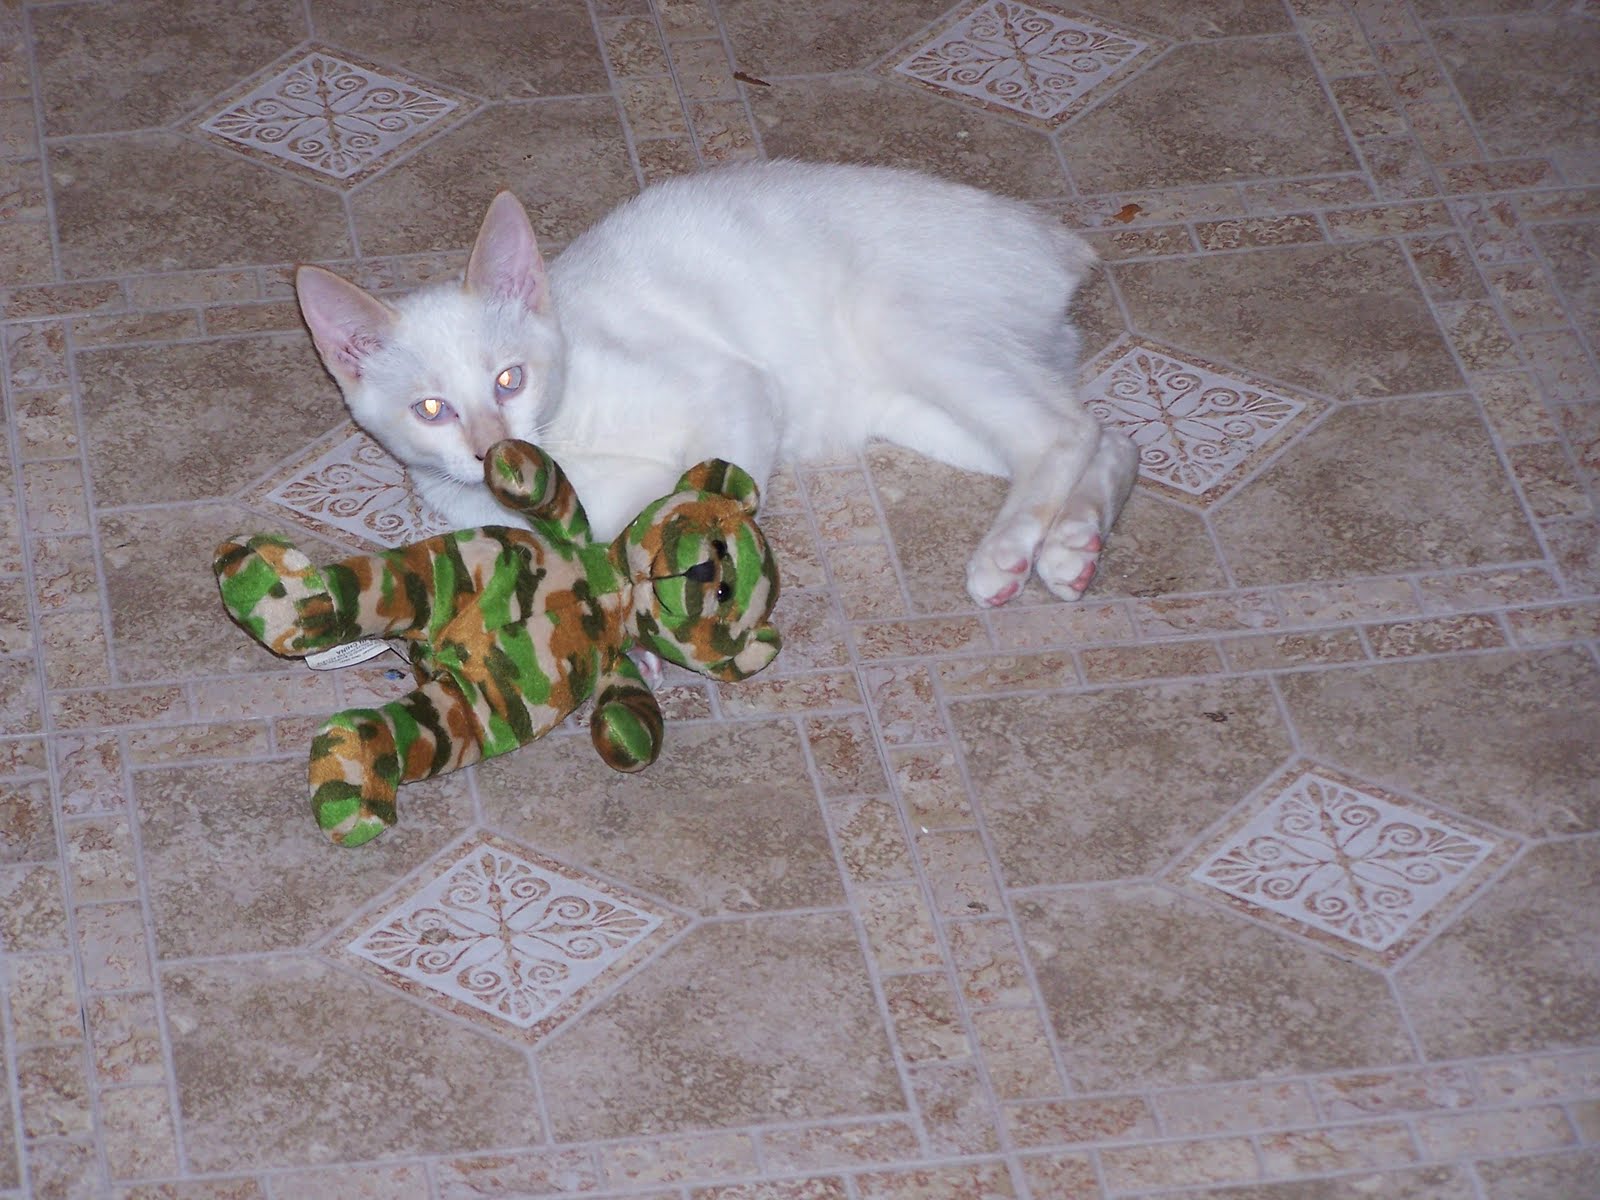
My new kitty, Fergus, loves to help me sew and quilt. Unfortunately, he is too young to be trusted with a rotary cutter, so he really isn't much help at this point.
His talents will be much more useful when the quilt is done, and I need some quality control.
[Which explains why so many of my projects are embellished with cat hair.]


Fergus also loves wrestling with his combat bear. Fergus is a fearsome fighter. He always beats the bear.

Sunday, September 19, 2010

and now, the top

To go with this skirt of the previous post, I used a lustrous bamboo knit that I bought at Expo from Vogue Fabric Store. The fabric drapes, wicks, breathes, its production is kind to the environment -- it is wonderful!!
The pattern -- eh.

I used Butterick 5354. I love the design. The construction -- well, probably my dissatisfaction is my own fault. Since the pattern specified using 2 or 4-way stretch knits only, I assumed that I was making a t-shirt. As such, I ignored the pattern's instructions and proceeded as I always do to make a Tee. Wrong. This is not a T-shirt. It is a blouse made of knit fabric.

I started off on the wrong foot, with the fit. I cut a size 20, as that is the size that corresponds to my full bust measurement. had I been making a large, shapeless Tee, this would have been fine. Instead, I have a shirt that fits at the bust point, but is too large in the neck and shoulders. had I treated it like a blouse, I should have cut a size 16, and done an FBA.

Then there's the sleeves. A typical T-shirt applies the sleeves flat to an open armsceye, then sews the underarm and side seams at once. This pattern instructed to sew the side seams, sew the underarm seams, install ease stitching, and attach it in the round. I ignored this, and sewed it flat. Wrong. Now I have some tiny puckers in the sleeve cap, and a slightly protruding point (possibly only noticeable to me) at the top of the sleeve. Since I attached the sleeve with my serger, ripping it out would take more than the seam allowance, and would not leave me with enough fabric in either the sleeve cap or the armsceye to re-construct. I am going to have to learn to live with this. Oh, bother!

Still, I like this pattern well enough, that I shall make it again. I think the tucks around the neckline are flattering, and lend a polished look to an otherwise ordinary top. This style is pretty enough to wear to work with a suit, even if this particular shirt made of it isn't!

next up: monkeying Around PJ's for my grandson, Logan. Then, I'll get back to making a silk blouse and jacket for the rest of this ensemble.

Sunday, September 12, 2010

Sewing up Expo


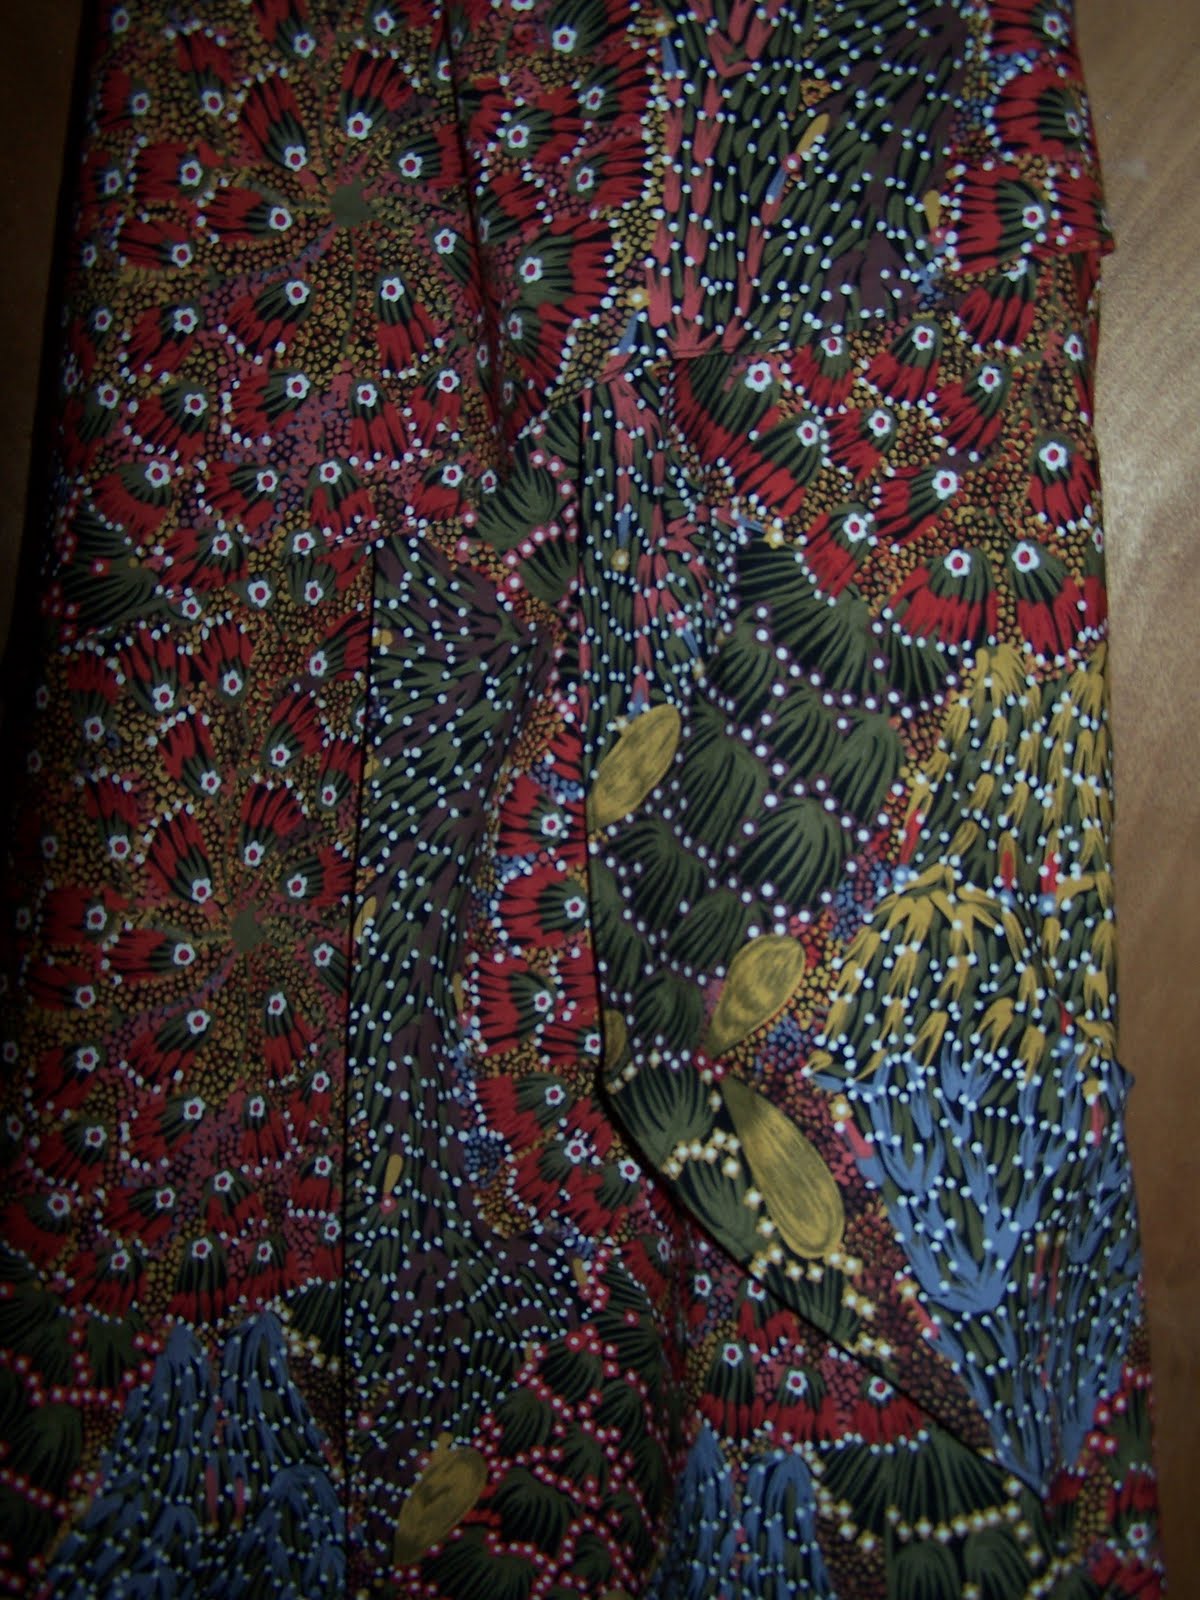
You may recognize this fabric as part of the haul from Sewing & Stitchery Expo. It is a cotton/rayon plain weave, whose hand is somewhere between a challis and broadcloth.
I made it into out of a Vogue pattern 7880. I had used this pattern once before, to make a thin metal-flecked silk/cotton gauze that I bought in Dubai.
This skirt has a completely different look, and attitude to it. The gauze one is a grayed-pink, and is floaty -- somewhat ethereal. I wear it with a pale pink silk Tee, and a short unlined jacket of the same gauze as the skirt.

This time around, the fabric is more substantial. It hangs straight down. I am making a hot coral pleated-neck top out of a bamboo knit to go with it for business casual, and a light coral silk charmeuse blouse, and olive damask jacket for a more polished professional look. Those items are still in my head - but I have purchased fabric and patterns for them, so it will happen!

This pattern is less challenging to sew than it first appears. Keep each pattern piece with its fabric piece until needed to avoid confusion. The only tricky part is the stay. A short, kind of half-lining, it is attached to inner layers that are longer than outer ones, and then attached at waist. Sew the wrong side of the stay to the right side of the bottom layers and when you attach it and turn, the skirt will be lined.

I shall keep you updated on the rest of the ensemble as it progresses. Time, work, family, and energy permitting.
Fingers crossed!!!

Monday, August 30, 2010

Scarlett's sad little dresses

When I worked on my undergrad degree at the University of Texas, my unique major (Textile Artifact Conservation, within the broader scope of a BA in Human Ecology), allowed me access to the Historical Garments Collection, the Rare Books library, and the opportunity to do research on the GWTW collection of garment artifacts at the Harry Ransom Center. [BTW: Scarlett O'Hara's waist may have been 17-inches -- Vivien Leigh's was not.]
It is a stunning collection. Scarlett O'Hara (Hamilton Kennedy Butler) was nothing if not fashionably, and superbly clad. Of course, the famous "curtain dress" is the hallmark of the collection, but, in fact, it is merely one of hundreds of thousands of artifacts in the Ransom Center's possession. There are scripts, props, hand-written notes by directors and writers, costume sketches in Walter Plunkett's hand, and scores and scores of petticoats (Director David O Selznik insisted on authenticity to the tiniest detail).
Sadly, the garments have not always had the care they require. In order to be displayed they must now be repaired, restored and displayed oh(!) so carefully.
UT has mounted a major fund-raising effort to solicit contributions for this effort.
I confess: I have mixed feelings. Such an important collection of American literary and film history ought not be allowed to fall unaided to the ravages of time.
From design to materials to construction, these dresses continue to educate and inspire creators of current and future art.
I am bothered in the extreme by the fact that my alma mater has allowed this level of negligence to occur.
I am simultaneously gratified to see that something is, at last, being done to rectify the problem.

You may view the collection, and read the fascinating history of its association with the University of Texas here:

http://www.hrc.utexas.edu/contribute/endowments/opportunities/costumes/

Let me know what you think.